Image denoising
due: Thursday, October 26, 8:00 AM
Image noise
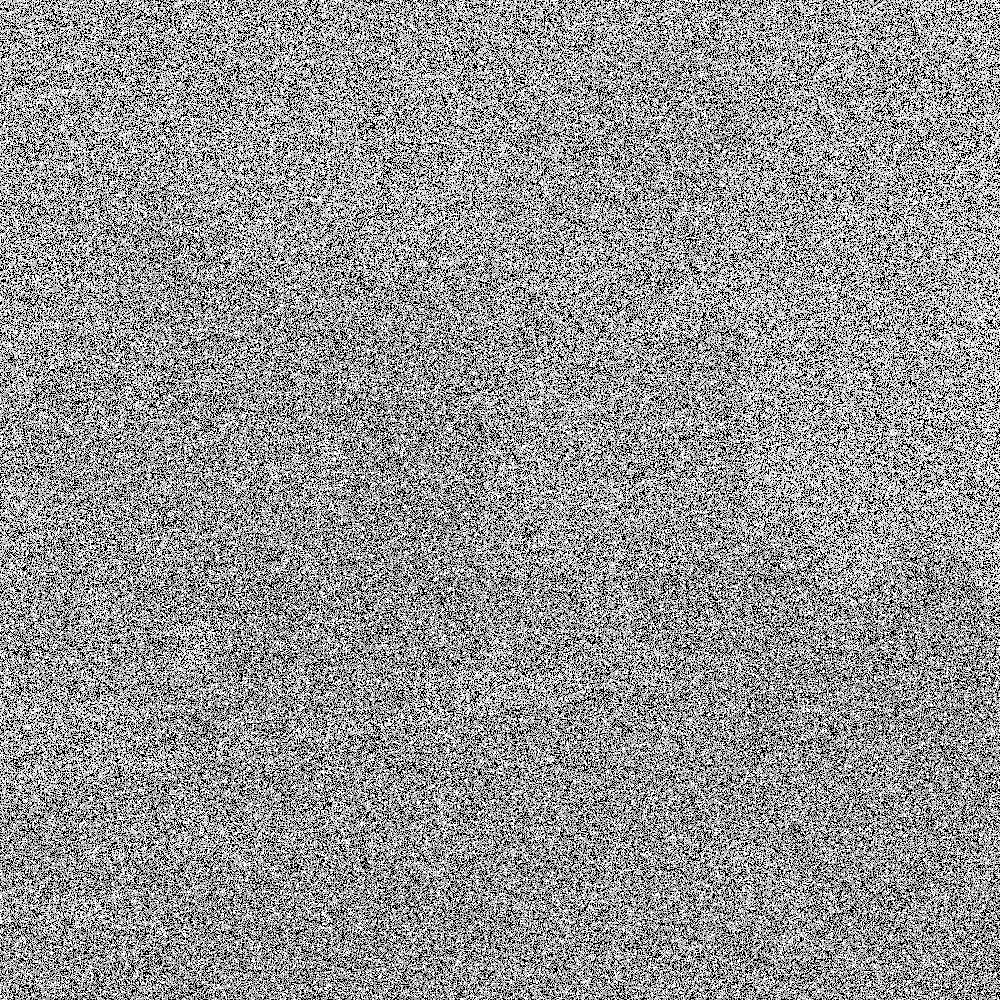
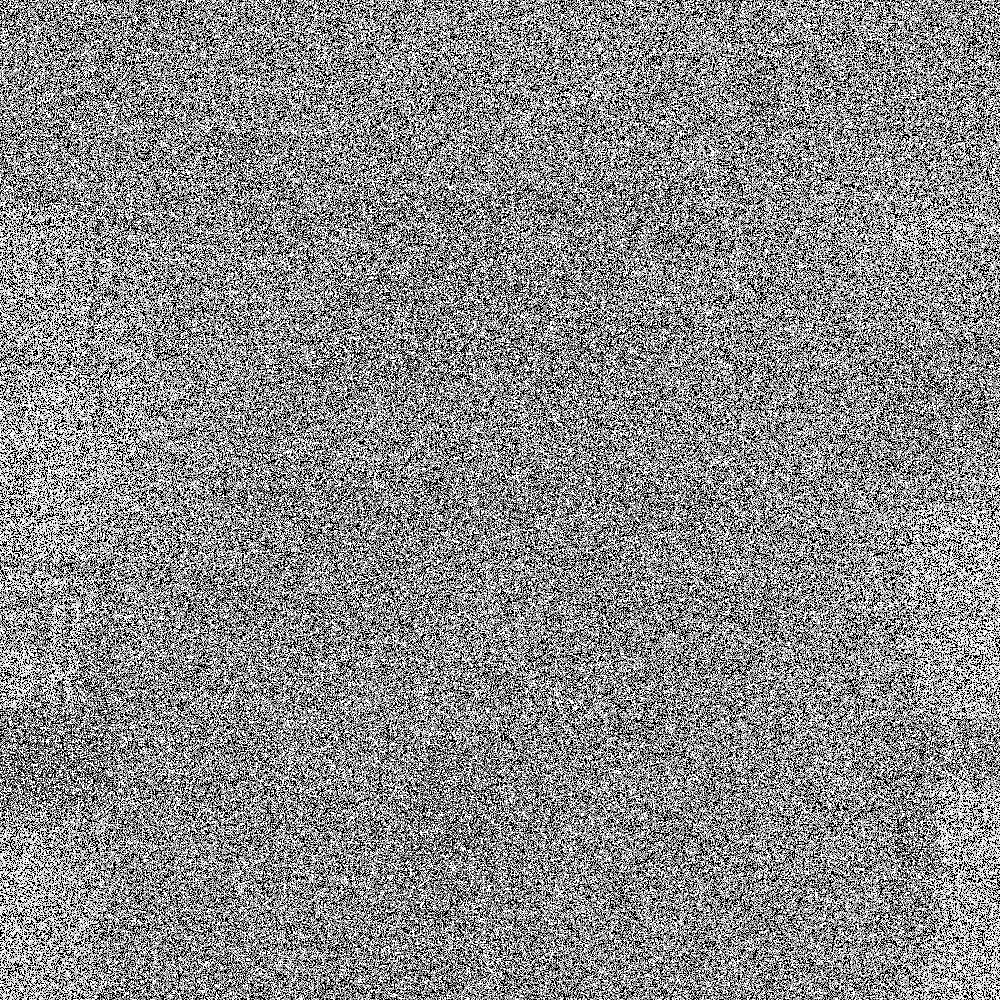
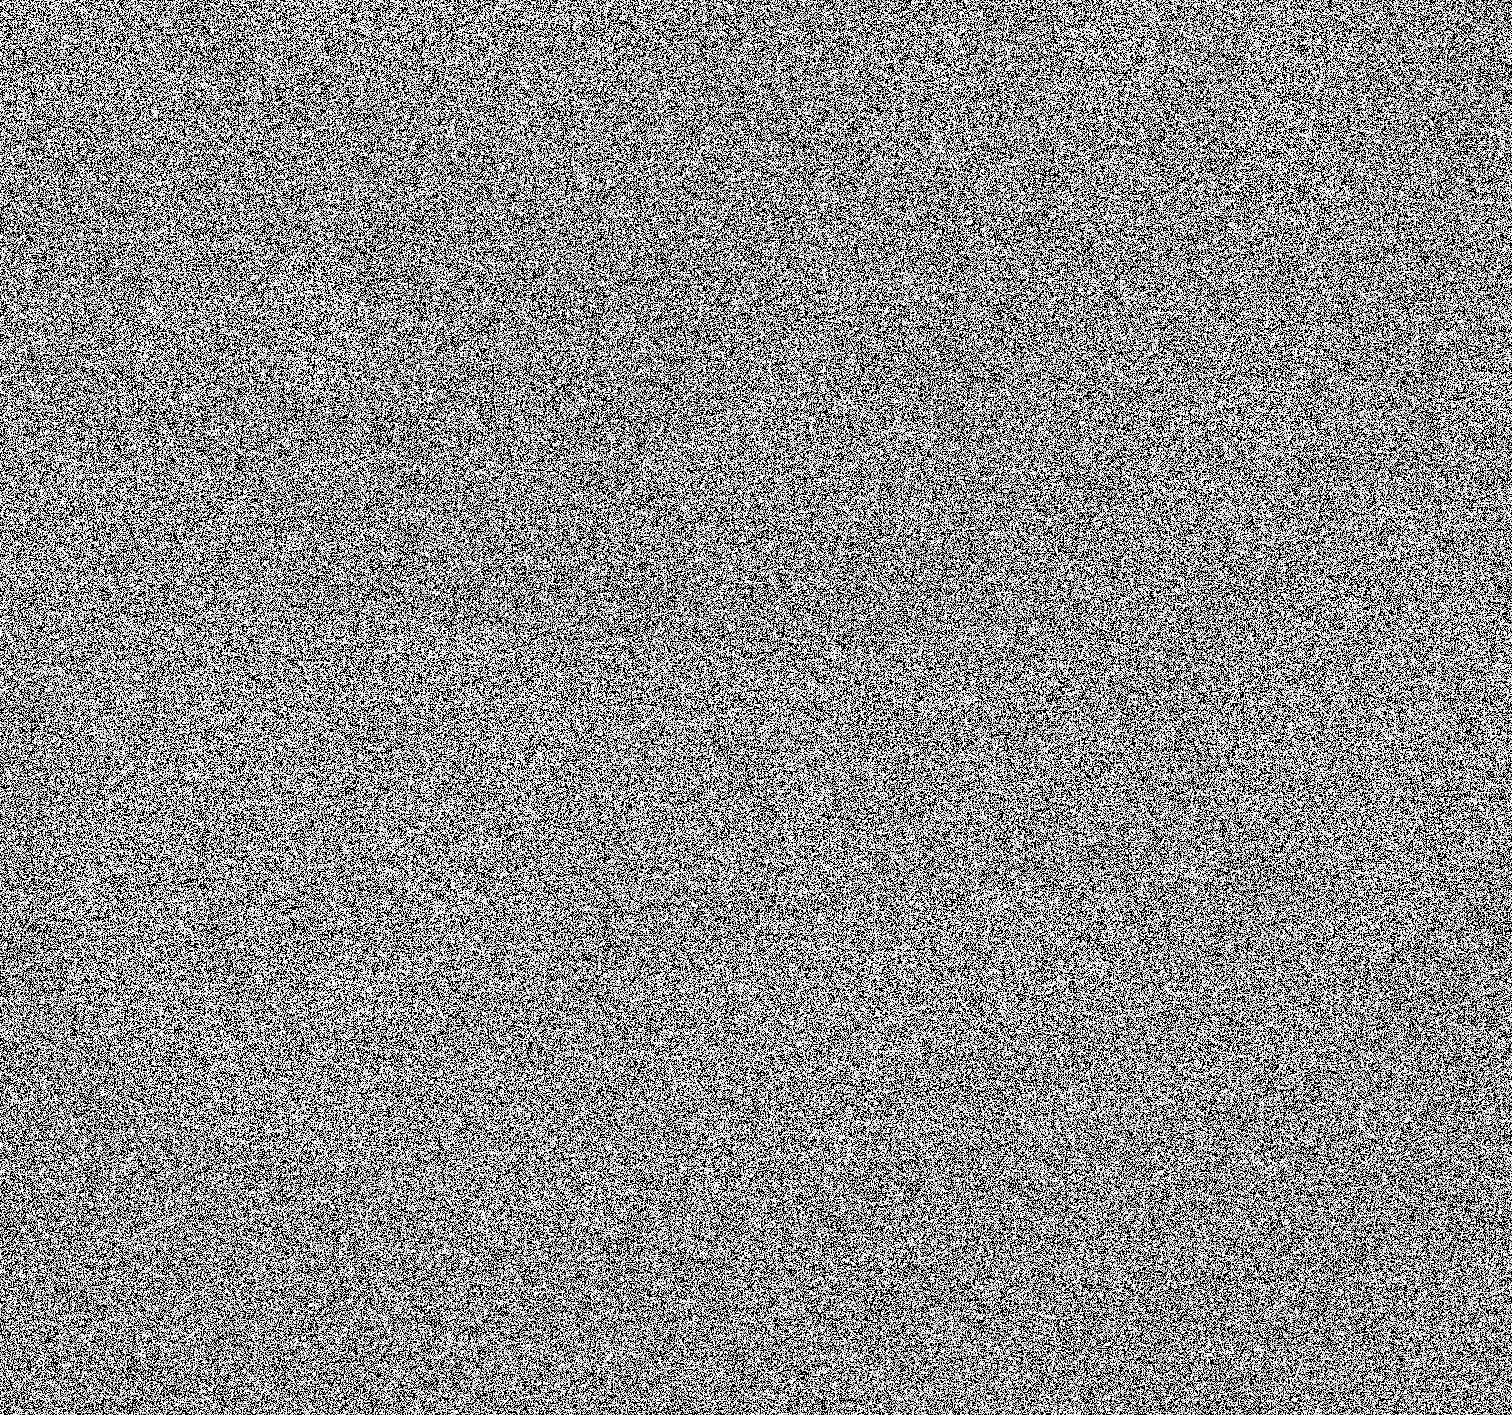
Image noise is a random distortion in the brightness or color in an image. Noise appears to some extent in every image and can be created by imperfections in cameras, random light fluctuations, errors occurring during image recording, storage and transmission etc. There are several different types of image noise. In this project we will be working with the salt and pepper noise which occurs when the color of some random pixels in the image is replaced by white, and the color of some other random pixels is replaced by black.
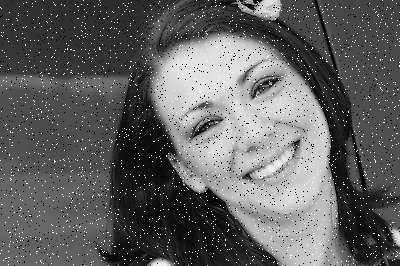
Image with salt and pepper noise.
The main objective of this project is to experiment with tools that can be used to reduce appearance of salt and pepper noise in an image. These tools are the mean filter and the median filter.
Note. In this project we will work with black and white images. Color of each pixel will be described by a single number between 0 (black) and 1 (white).
Mean filter
Recall that the mean (or average) of numbers \((x_1, x_2, \dots, x_n)\) is the number
The mean filter starts with an image and produces from it a new, filtered image with modified pixel colors. More precisely, let \(P[i, j]\) denote the pixel in the \(i\)-th row and \(j\)-th column of the original image, and let \(F[i, j]\) denote the pixel in the same row and column of the filtered image. The color of \(F[i, j]\) is computed as follows:
We select an n \(\times\) n square of pixels of the original image that has \(P[i,j]\) at the center.
We compute the mean of values of pixels contained in the square.
This mean value gives the color of the pixel \(F[i,j]\).
Example 1. The left side of the picture below shows a fragment of a photo with a 3 \(\times\) 3 square of pixels selected. The right side shows enlargement of the selected square with color value of each pixel. \(P[i, j]\) is the pixel at the center of the square.

The value of \(F[i,j]\), the pixel of the filtered image, is given by the mean of the array
We can use numpy to compute this mean:
square = np.array([[0.6, 0.7, 0.4],
                   [0.7, 0.6, 0.1],
                   [0.5, 0.5, 0.0]])

sq_mean = np.mean(square)
print(sq_mean)
0.455555555556
Thus \(F[i,j]\) = 0.455555555556.
Median filter
The median filter is similar to the mean filter, but instead of using the mean of values of pixels in a square it takes the median of these values. Recall that if \(n\) is odd then the median of a collection of numbers \((x_1, x_2, \dots, x_n)\) is the number \(x_i\) which is in the middle of the list when these numbers are arranged from the smallest to the largest. For example, the median of (1, 7, 7, 14, 21, 45, 101) is 14, since on this list there are 3 numbers smaller than 14 and 3 that are larger. If a list consists of an even number of values then the median is the average of the two middle numbers. For example, the median of (1, 7, 10, 14, 45, 101) is 12, since this is the average of 10 and 14.
The median filter works as follows:
For each pixel \(P[i, j]\) of the original image we select a n \(\times\) n square of pixels that has \(P[i, j]\) at the center.
We compute the median of values of all pixels in the square.
This median is the color of the pixel \(F[i, j]\) in the filtered image.
Example 2. We use the same square of pixels as in Example 1. The value of \(F[i, j]\) is the median of values of the pixels in this square. Using numpy we obtain:
square = np.array([[0.6, 0.7, 0.4],
                   [0.7, 0.6, 0.1],
                   [0.5, 0.5, 0.0]])

sq_median = np.median(square)
print(sq_median)
0.5
Therefore \(F[i, j]\) = 0.5.
Note. The mean filter and the median filter can be modified by using larger squares (5 \(\times\) 5, 7 \(\times\) 7 etc.) to compute mean and median. In each case the length of sides of the square must be an odd number, so that there is a pixel in the center of the square.
Edge pixels
While implementing mean and median filters we need to deal with the issue of pixels that are close to image edges, since for such pixels the square used to calculate mean or median may go outside the image:

One way to deal with this problem is to enlarge the image adding a border on each side of some fixed color (say, white). The width of the border will depend on the size of the squares used by the filter: for 3 \(\times\) 3 squares it will suffice to add a border 1 pixel wide, for 5 \(\times\) 5 squares the width should be 2 pixels and so on. In this way a square centered at any pixel of the original image will fit inside the enlarged image, and we will be able to compute its mean or median.

Project
Part 1. Write a function sp_noise(img, noise) that adds salt
and pepper noise to an image. Its first argument img should be
a 2-dimensional numpy array representing the image and the second argument
noise should be the fraction of pixels that are to be replaced by noise
(for example, with noise = 0.05 about 5% of pixels should be noise,
consisting in roughly equal parts of white and black pixels). The function
should return a 2-dimensional numpy array representing the original image
with noise added.
Part 2. Write a function mean_filter(img, s) that takes as its
first argument a 2-dimensional numpy array img representing an image,
and returns a numpy array obtained by applying to img the mean filter.
The second argument of the function, s is the size of square of pixels
used by the filter (i.e. if s = 3 then the filter will use
3 \(\times\) 3 squares etc.).
Part 3. Write a function median_filter(img, s) that takes as its
argument a numpy img array representing an image, and returns a
numpy array obtained by applying to img the median filter. Again,
the second argument s is the size of squares used by the filter.
Part 4. Investigate how suitable these filters are for reducing salt and pepper noise in images and describe your observations. Here are some questions you may consider:
Which filter, mean or median works better for reducing noise and why?
What happens as the value of
sin these filters is increased?What happens as the level of noise in an image is increased?
You can also include ideas how the process of noise reduction could be improved.
Part 5. The general scheme behind the mean and median filters is to take a small square centered at a pixel, and use some formula involving values of pixels in the square to compute a single number. This number is then taken as the new value of the pixel at the center of the square. Design new image filters by choosing formulas, other then mean and median, for these computation. Apply these filters to some photographs and describe what effects they produce.
Note. Below are links to black and white photos that you can use in
your work. You can add salt and pepper noise to these images using the
function sp_noise() defined in Part 1 of the project.
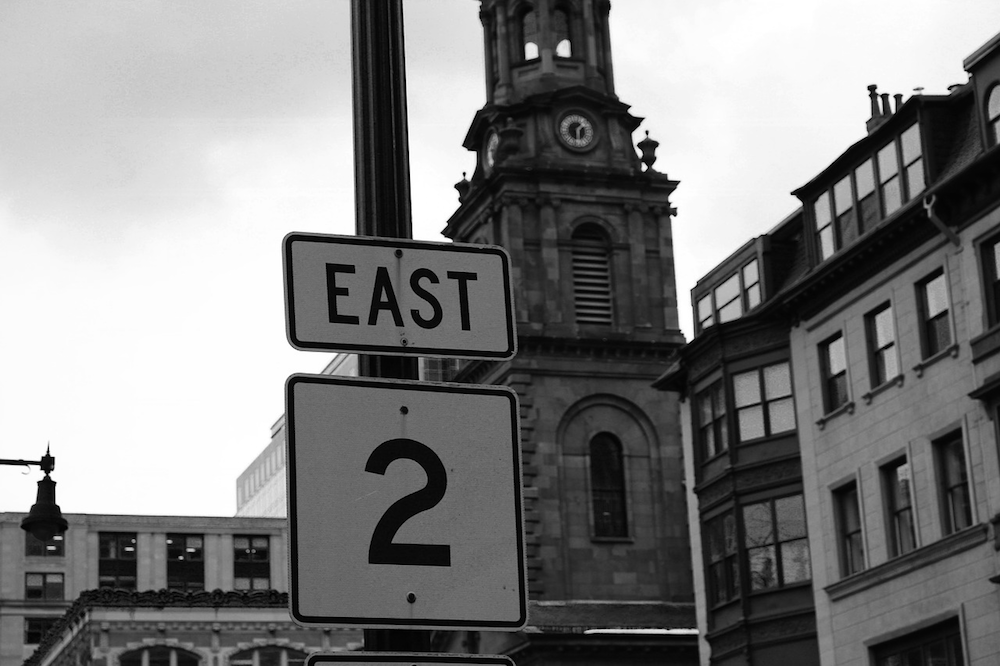
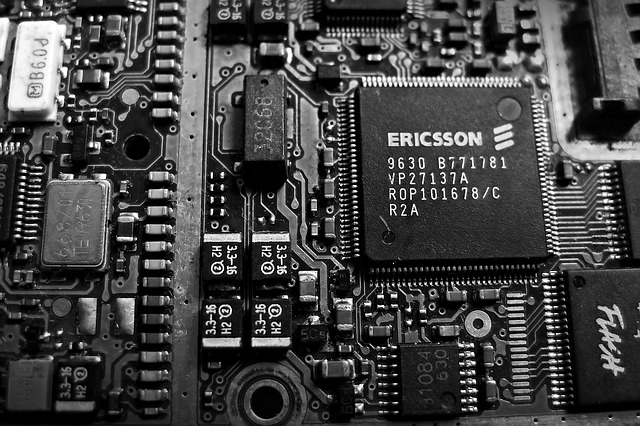
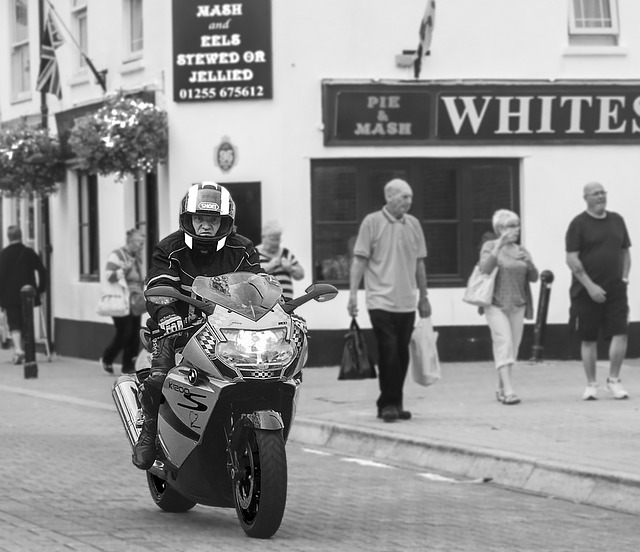
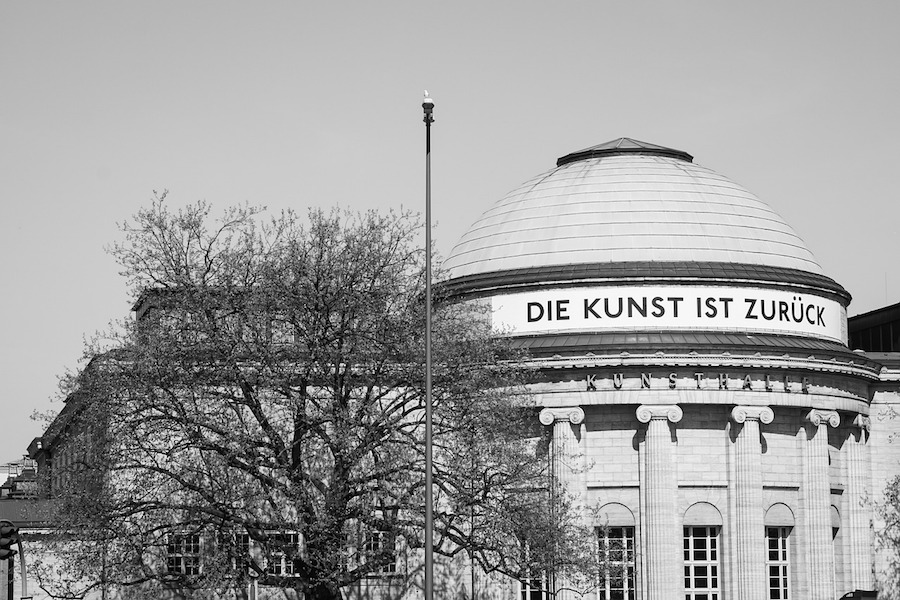
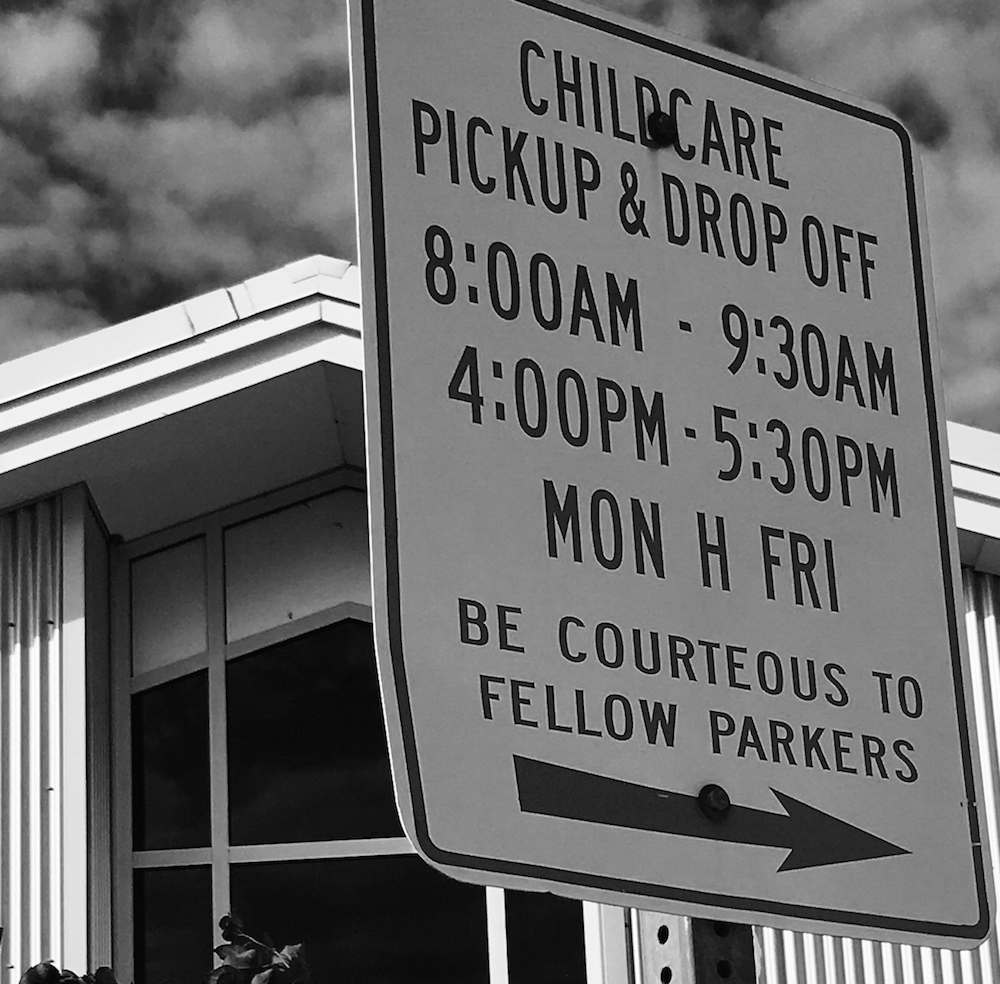
face.png(resolution: 400 \(\times\) 266)boston.png(resolution: 1000 \(\times\) 666)circuit.png(resolution: 640 \(\times\) 426)motorbike.png(resolution: 640 \(\times\) 552)hamburg.png(resolution: 900 \(\times\) 600)sign.png(resolution: 1000 \(\times\) 984)
Extra credit
Below are links to four photos taken at various places on campus, which were obscured by salt and pepper noise. For extra credit (grade increase to the next higher grade for this report: A- to A etc.) reduce noise in these images, find locations where the photos were taken, take photos showing you at the same locations, and include these photos in your report.
Note 1. To qualify for the extra credit your report must include both code producing images with noise removed to the extent that they are recognizable, and your own photos.
Note 2. In order to include your photos in the report do the following:
Place the files with your photos in the folder with your report notebook.
For each photo create a code cell in your notebook. In this code cell enter the following code, replacing
"my_photo.png"with the name of your photo file:
from IPython.display import Image
Image("my_photo.png")
When you execute this cell the photo should be displayed.
Once you embed all photos in this way you can submit the notebook file.